Turning an Old Windows 7 PC into a Home Cloud Server
Jump to comments ↓Why I did this
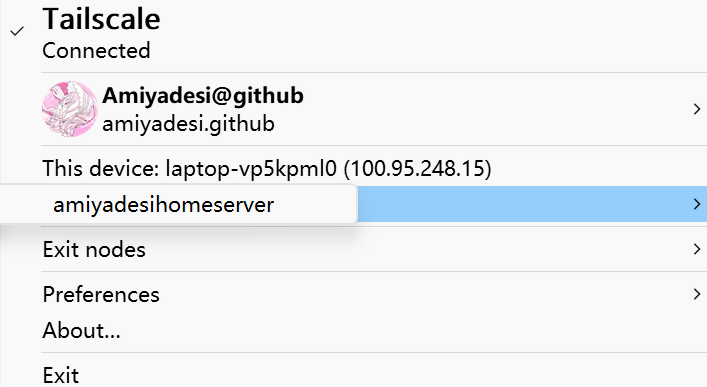
When I came home for the summer and talked with my family, I discovered that we had an old Windows 7 computer nobody planned to use anymore. That seemed like the perfect chance to build a home cloud server. After learning through every step with an AI and following its guidance, I finally got it working and joined it to my own Tailscale network. So here is the record.
Full Log
Preparation
You need a small USB drive with at least 4 GB of space to turn into an Ubuntu installer. Download the latest stable version from the official page, https://ubuntu.com/download/server. For example, the version I downloaded was 26.04. Then download https://rufus.ie/ to write it to the USB drive.
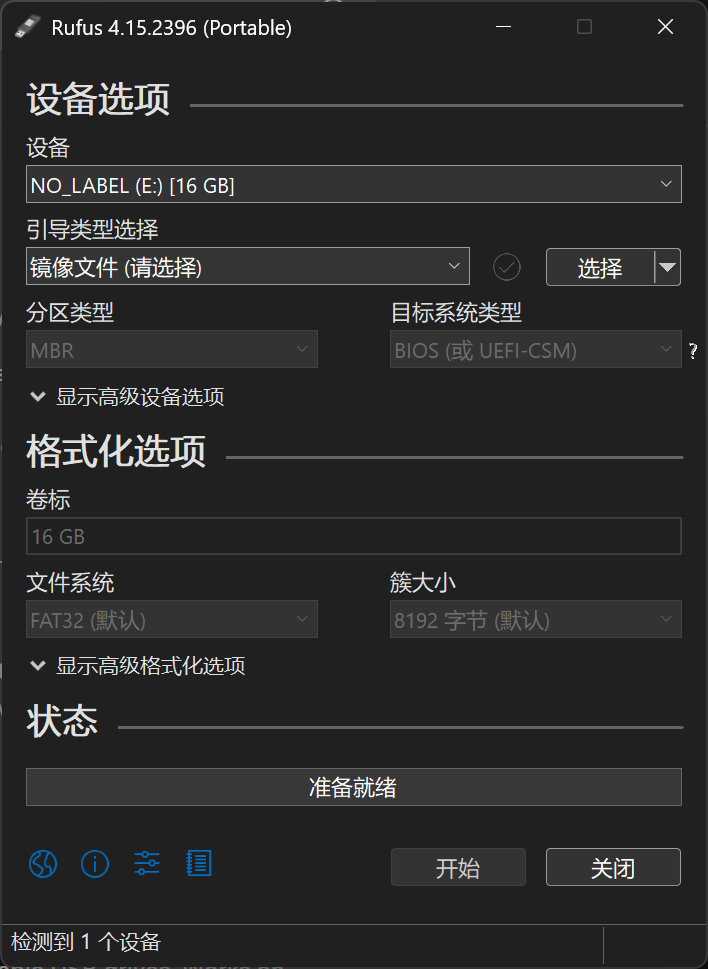
In the selection field, choose the Ubuntu image you downloaded. Make sure there is nothing important on the USB drive, click Start, and continue with the default options. Now we have a USB drive containing Ubuntu Server 26.04 LTS.
Installation
Plug the USB drive in before turning on the computer. When Lenovo appears during startup, quickly press F12. If pressing F12 alone does nothing, try Fn+F12 and press it several times. This opens the Boot Menu. Use the arrow keys to select the option containing USB, and the computer will boot from the drive and enter the Ubuntu installation process.
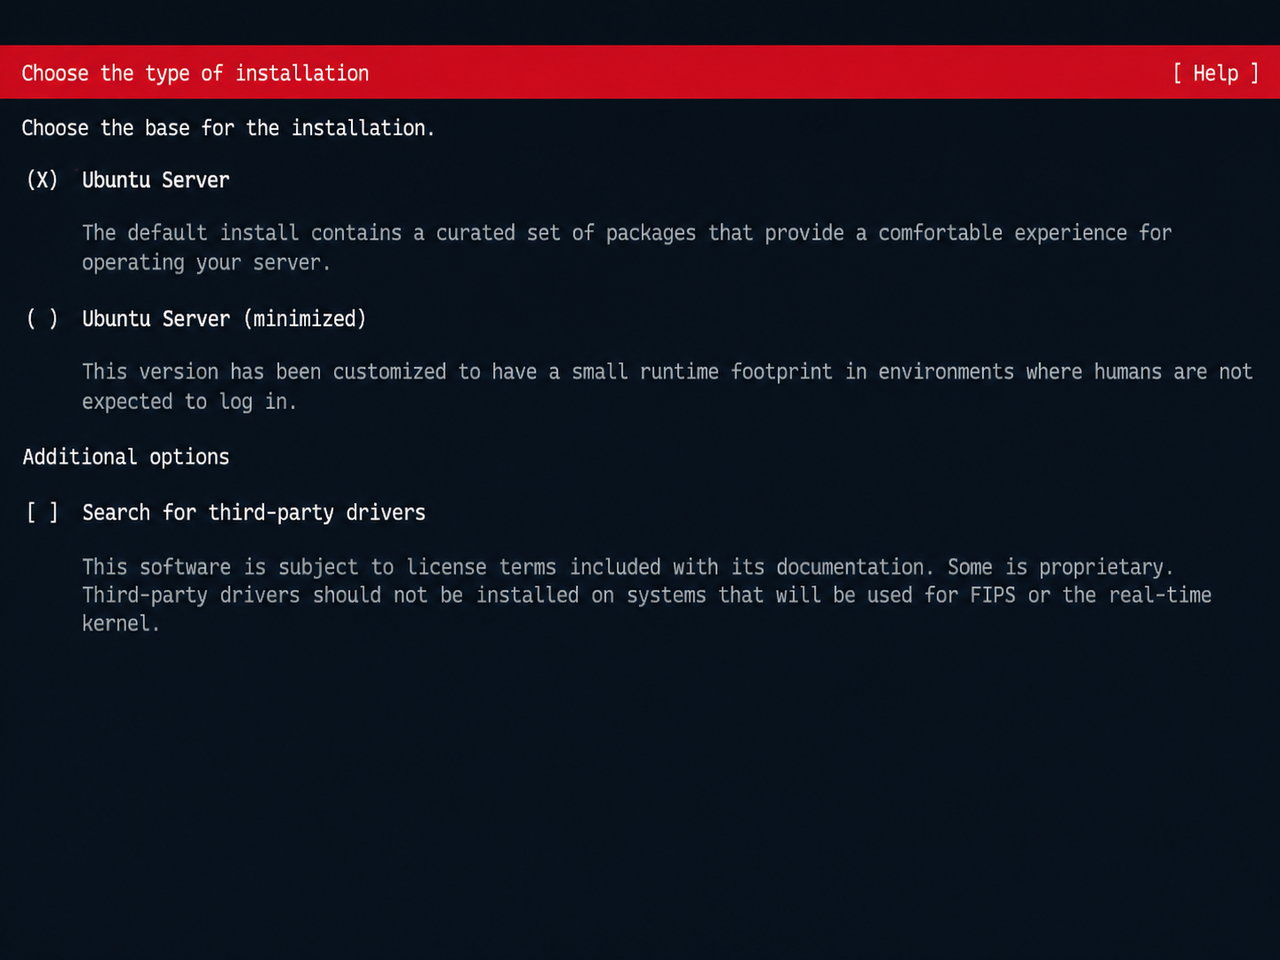
The earlier choices can stay at their defaults. When I reached this screen, the AI recommended checking the third option so the installer would look for third-party drivers automatically. That helps avoid problems such as having no sound or being unable to connect to Wi-Fi.
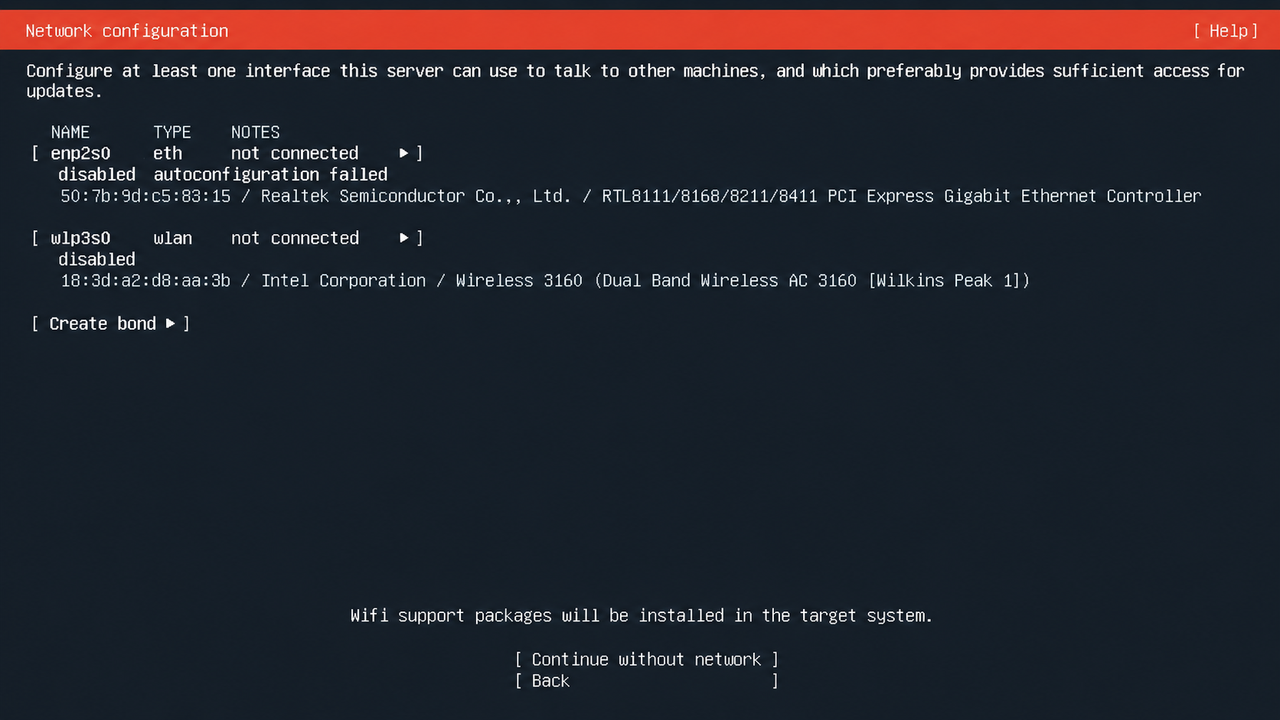
When you reach this page, if your home has Wi-Fi, use the arrow keys to move to the second option, wlp3s0, and press Enter. Continue with Edit Wifi, then enter your home Wi-Fi name and password. This makes sure the server is already online when you start configuring it later.
Next comes a page for proxy settings. If you do not need a proxy, you can skip it.
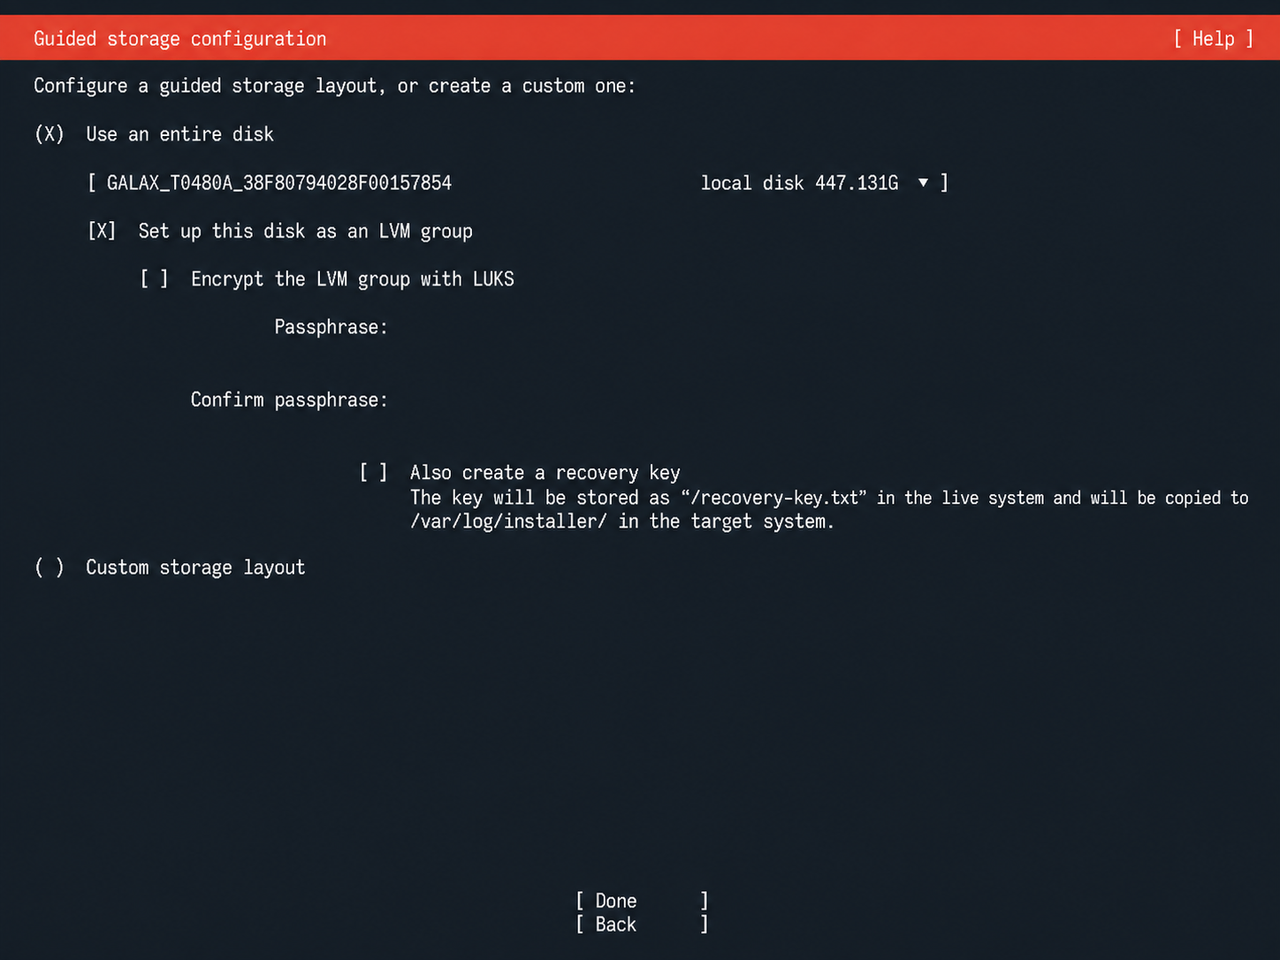
If you are rebuilding the whole computer like I was, just click Done. The next page shows a summary of your computer settings; click Done and Continue again, and the installation will run for a while.
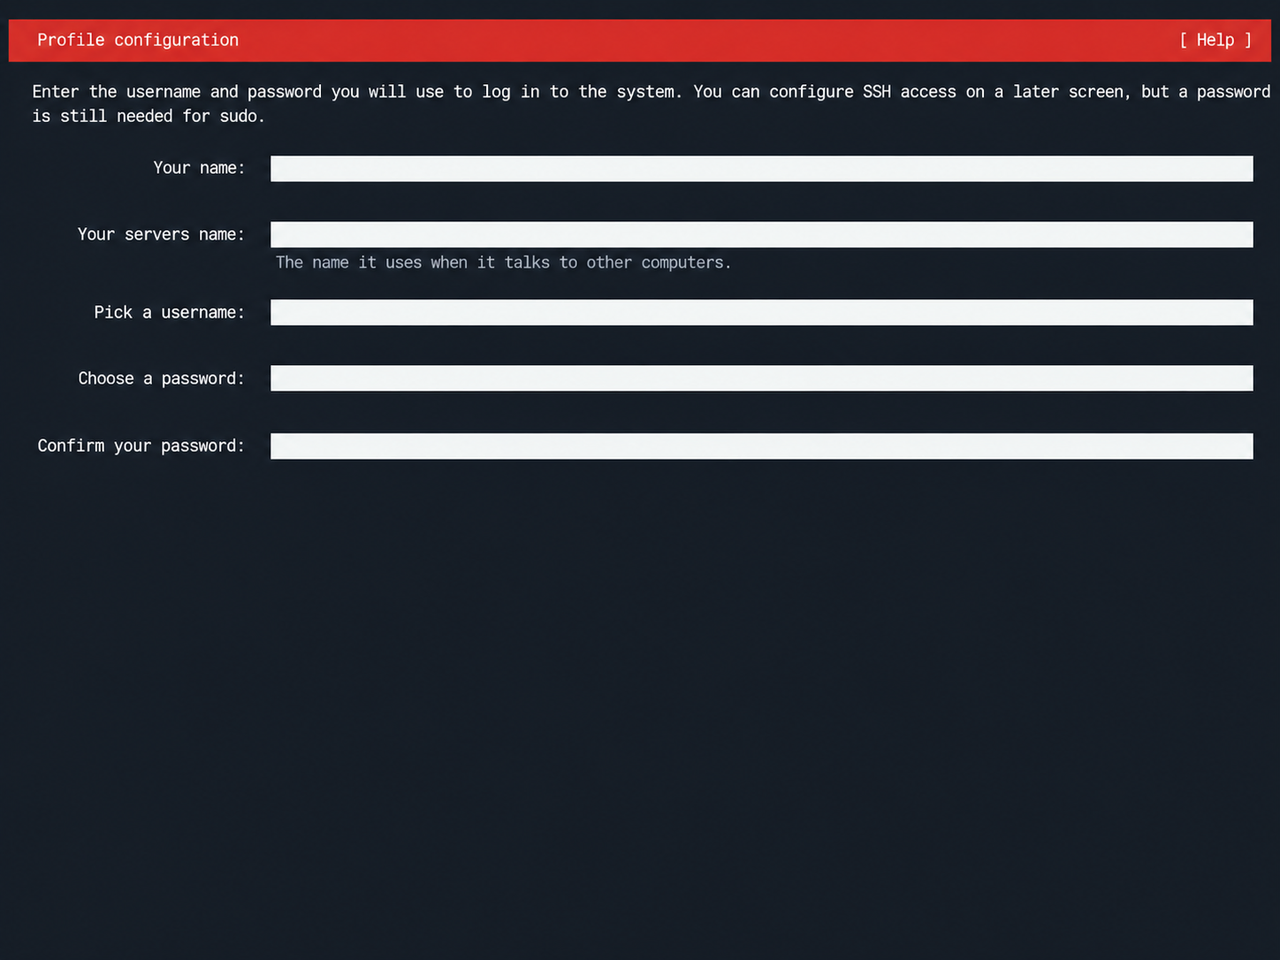
Once you reach this screen, you can set the server password and account. By convention, people often call the account root, but you can choose whatever you like. I called mine amiya. Set the hostname, username, and password, and remember them. Otherwise you will not be able to log in over SSH and may end up flashing the machine all over again (.
There may also be a prompt asking whether you want Ubuntu Pro. Just skip it; most people will not need it, hh.
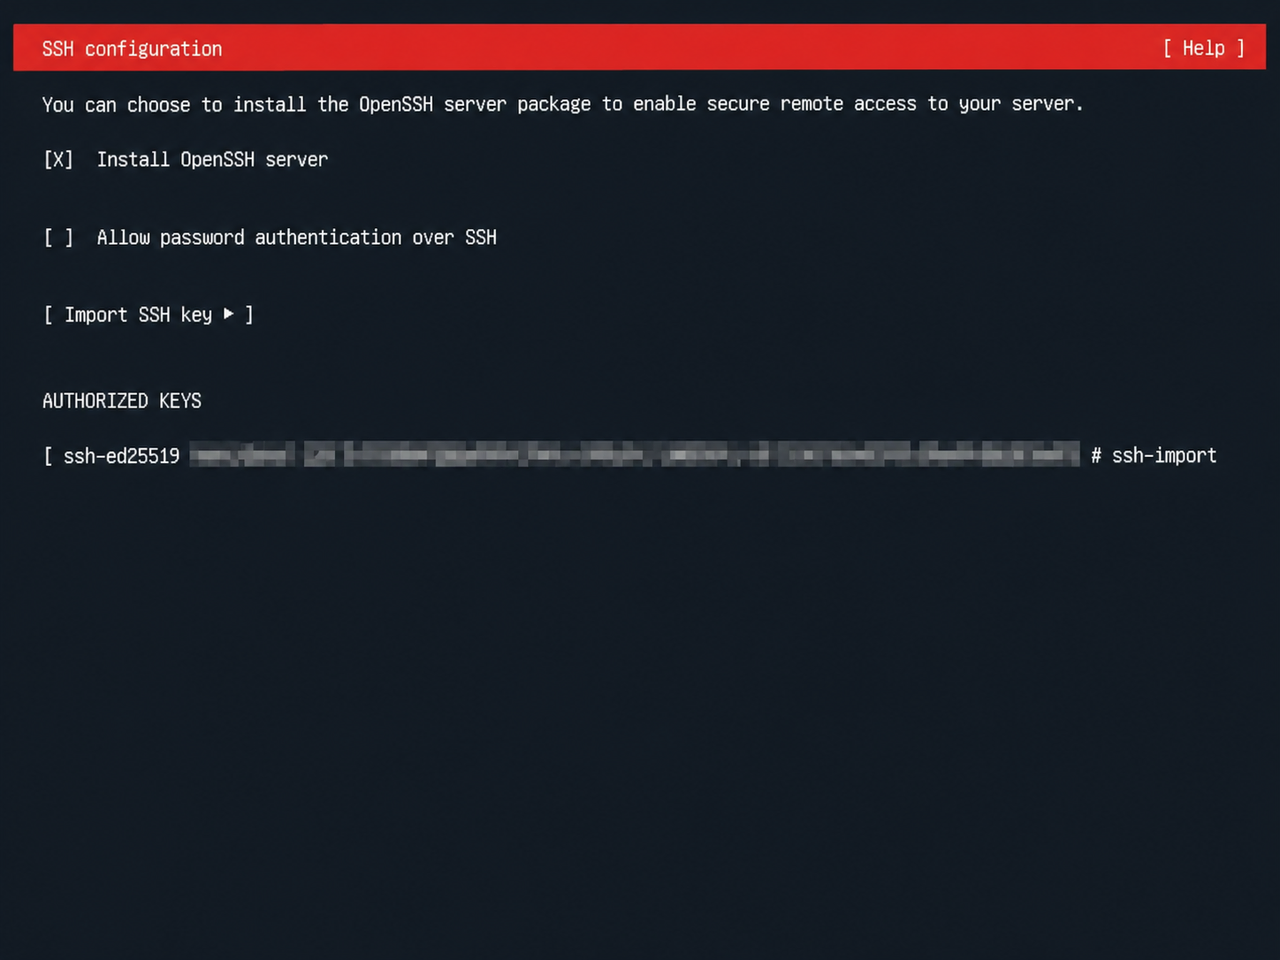
Now for the important part: installing OpenSSH is a must. Also, if you have a GitHub account and have configured SSH there (I vaguely remember another platform supports importing keys too, but I forgot which one), you can enter your GitHub username to import your SSH public key. Then, as long as your main computer and server are on the same local network, such as the same Wi-Fi, you can connect with the IP address and SSH key pair. That means you do not need to check the second option, [ ] Allow password authentication over SSH, which allows password-based login.
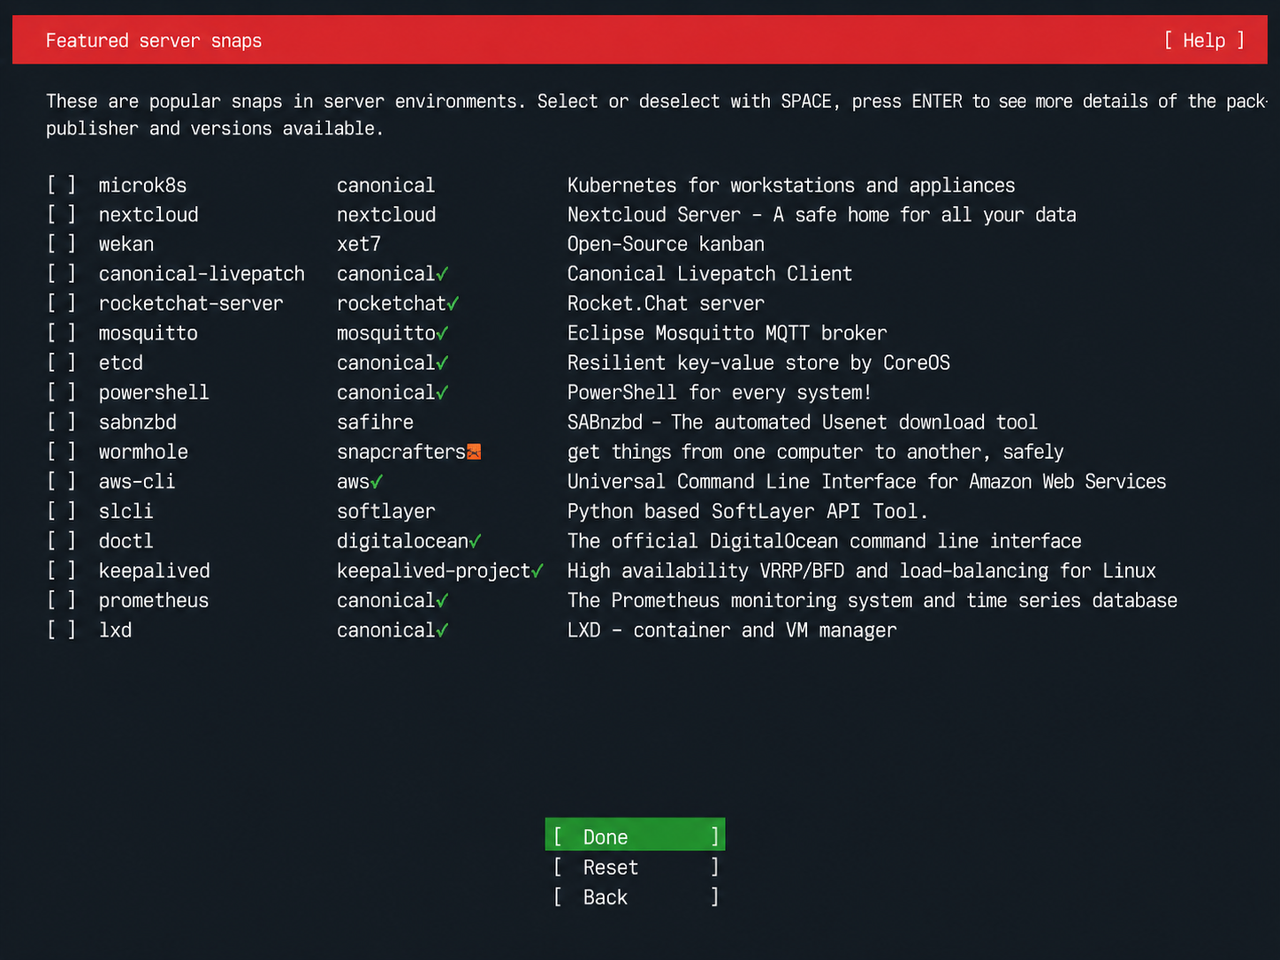
The installer then lets you choose some common server software. If you really need something, select it with the space bar. If not, just click Done and move on.
Finally, click Reboot Now. If you see Please remove the installation medium, then press ENTER, unplug the USB drive and press Enter. If that message does not appear, unplug the drive after the screen goes black. Otherwise you may be sent straight back into the installation loop…
Initial Configuration
For easier access later, I decided to use Tailscale to connect everything:
sudo apt update && sudo apt full-upgrade -ysudo apt install -y openssh-serversudo systemctl enable --now sshcurl -fsSL https://tailscale.com/install.sh | sh sudo tailscale up tailscale ip -4After installing these, you will usually get a Tailscale sign-in link. Log in to the same Tailscale account on your main computer, and you can connect to the server through the private network.
Afterword
The server has been running for a little over two days so far. I successfully moved my AstrBot and NapCat Sayori bot to the home broadband server. Hooray!
I also successfully moved Fast Note Sync to the home server, which should make syncing my blog data a little faster.
NOTEI still do not know what to build next, nya. But having a small server on a domestic home connection is pretty fun. The tested upload bandwidth is around 70 Mbps, and a 2-core, 4 GB machine is usable too. If you made it this far, feel free to suggest ways I could put this little home server to better use!