


Article at a glanceQuick scan
- Start building a blog with GitHub and Cloudflare Pages
- Manage article source files with the Mizuki template and Obsidian
- Automate building and publishing via GitHub Actions
Building Your Own Blog from Scratch: GitHub, Cloudflare Pages, Mizuki, and Obsidian
NOTEIt’s the AI era now. If you can’t figure out how to install environments like Node.js, Git, or pnpm, you can totally let AI help you. Just download a free AI like opencode or trae, and it can even handle pulling GitHub repositories and configurations. But then, what’s the fun in that? Even though I, the site owner, did it that way, since I’m writing a tutorial, I should probably make one that you can do by hand.
Here’s a funny thing: I only found out I needed to install pnpm when I was writing this. Before, I just let Codex deploy everything for me. But hey, it’s pretty good! Writing articles like this helps me deeply understand the stuff AI helped me set up!
Once you’re done, you’ll have:
GitHub 仓库Cloudflare Pages 项目Obsidian 写作目录Astro/Mizuki 博客GitHub Actions 自动部署The final address you open will look something like this:
https://你的项目名.pages.dev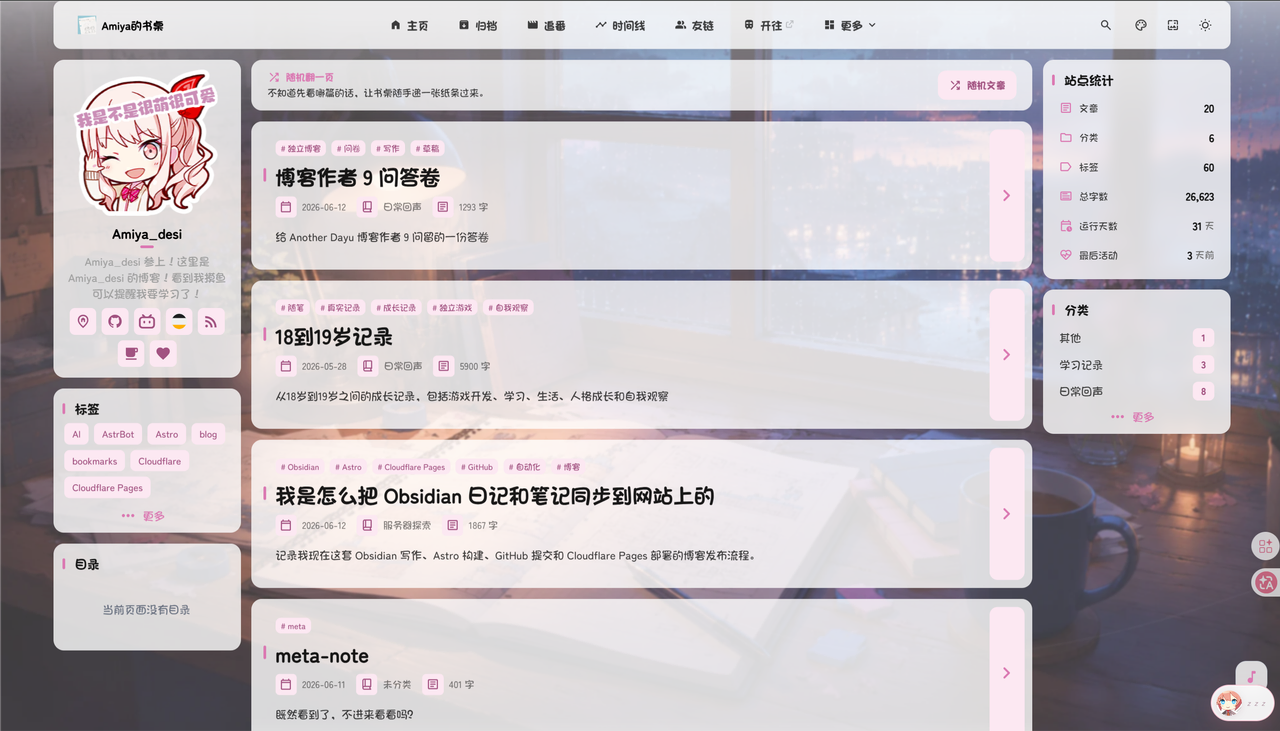
First, Register for GitHub and Cloudflare
If you don’t have these two accounts, it’s best to register for them. GitHub and Cloudflare are both famous cyber philanthropists! And generally, the earlier you register for a GitHub account, the more benefits you can enjoy!
First, register for GitHub:
GitHub is used to host your blog repository and can also use Actions to implement an automatic upload workflow after commits.
If you can’t register, try switching nodes, using an incognito browser, or registering on your phone. For example, I ended up registering on my phone QAQ~~*those were my steps, haha.
Next, register for Cloudflare:
https://dash.cloudflare.com/sign-up
This registration is quite easy. I, the site owner, could register with a random Outlook email. Truly a CF philanthropist.
Cloudflare Pages is used to host your blog. It will put the built static files on Cloudflare’s network and give you a pages.dev domain.
https://github.com/zhuima/awesome-cloudflarE, here’s also a CF usage guide with 14k stars on GitHub, I recommend everyone save it!
Install Local Tools
Download these tools from their official websites:
- Node.js: https://nodejs.org/
- pnpm: https://pnpm.io/installation
- Git: https://git-scm.com/downloads
- Obsidian: https://obsidian.md/download
After installation, open your terminal and check:
node -vgit -vpnpm -vIf pnpm -v yields no results, you can enable it with Corepack:
corepack enablecorepack prepare pnpm@latest --activateWindows users are advised to use PowerShell first. macOS and Linux users can just use the system’s built-in terminal.
Create a New GitHub Repository
Open GitHub, click New repository.
For the repository name, you can write:
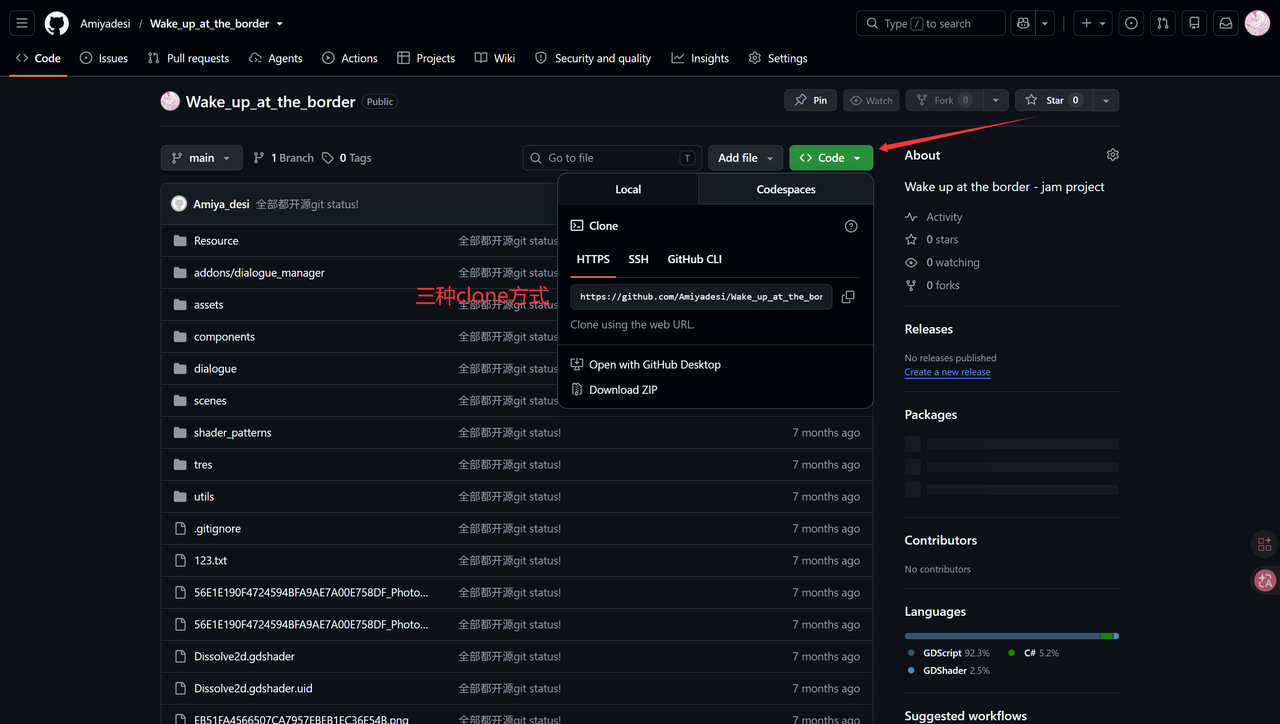
my-blogAfter creating it, clone the repository to your local machine:
git clone https://github.com/你的用户名/my-blog.gitcd my-blog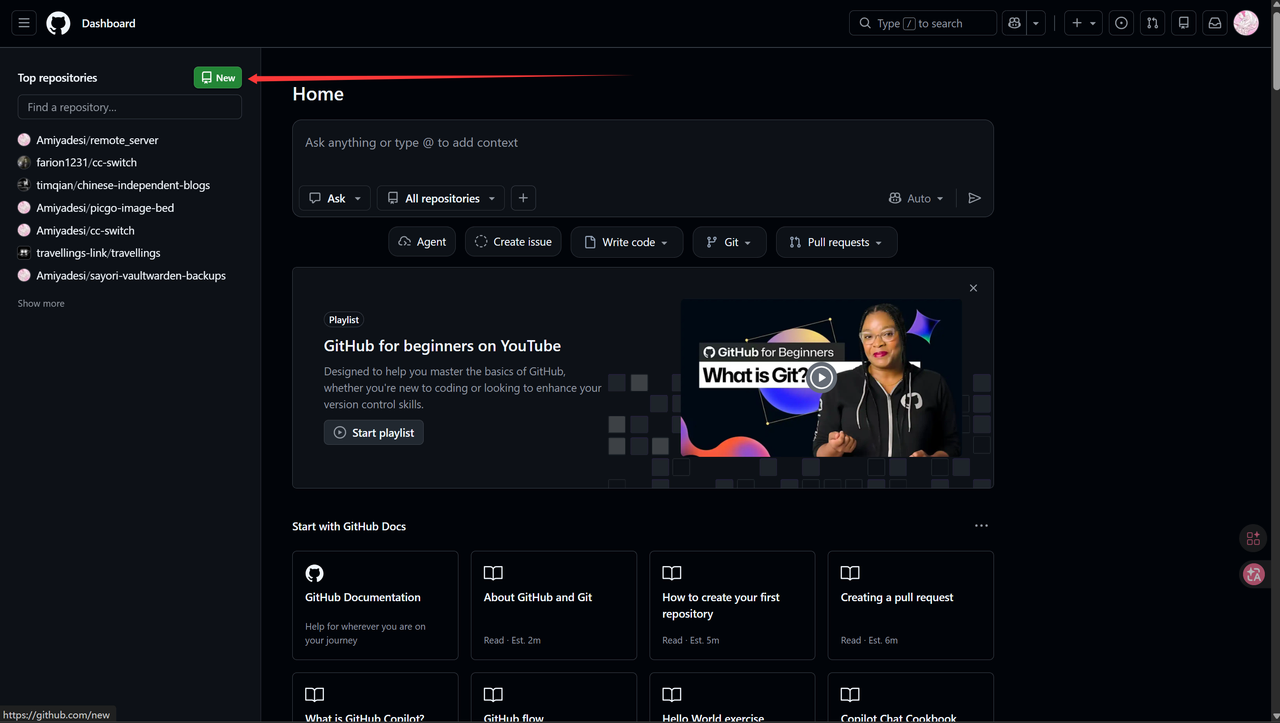
Add My Obsidian Blog Template
I’m not directly using the official Mizuki content repository here.
You can see the official content repository here:
https://github.com/matsuzaka-yuki/Mizuki-Content
But I usually write articles using Obsidian, so I’ve put together my own template. This template places the writing source in articles/, and then a script syncs it to the directory Mizuki needs.
The template now also retains two writing styles: regular articles and essays. Regular articles are placed in articles/posts/<slug>/<slug>.md and will generate independent pages; shorter notes can be placed in articles/essays/<slug>.md, and after publishing, they will be aggregated on the essays page.
Template repository:
https://github.com/Amiyadesi/astro-mizuki-blog-from-zero
If you use this template directly, the final directory should look like this:
my-blog/ articles/ posts/ friends/ spec/ site/ assets/ blog/ package.json src/ scripts/ .github/ workflows/ deploy-cloudflare-pages.ymlRemember this one thing first:
articles/ 是你写东西的地方blog/ 是网站程序本体In the future, don’t manually write articles in blog/src/content/posts. That directory is a synced output.
Open ‘articles’ with Obsidian
Open Obsidian, select:
打开本地文件夹Then choose:
my-blog/articles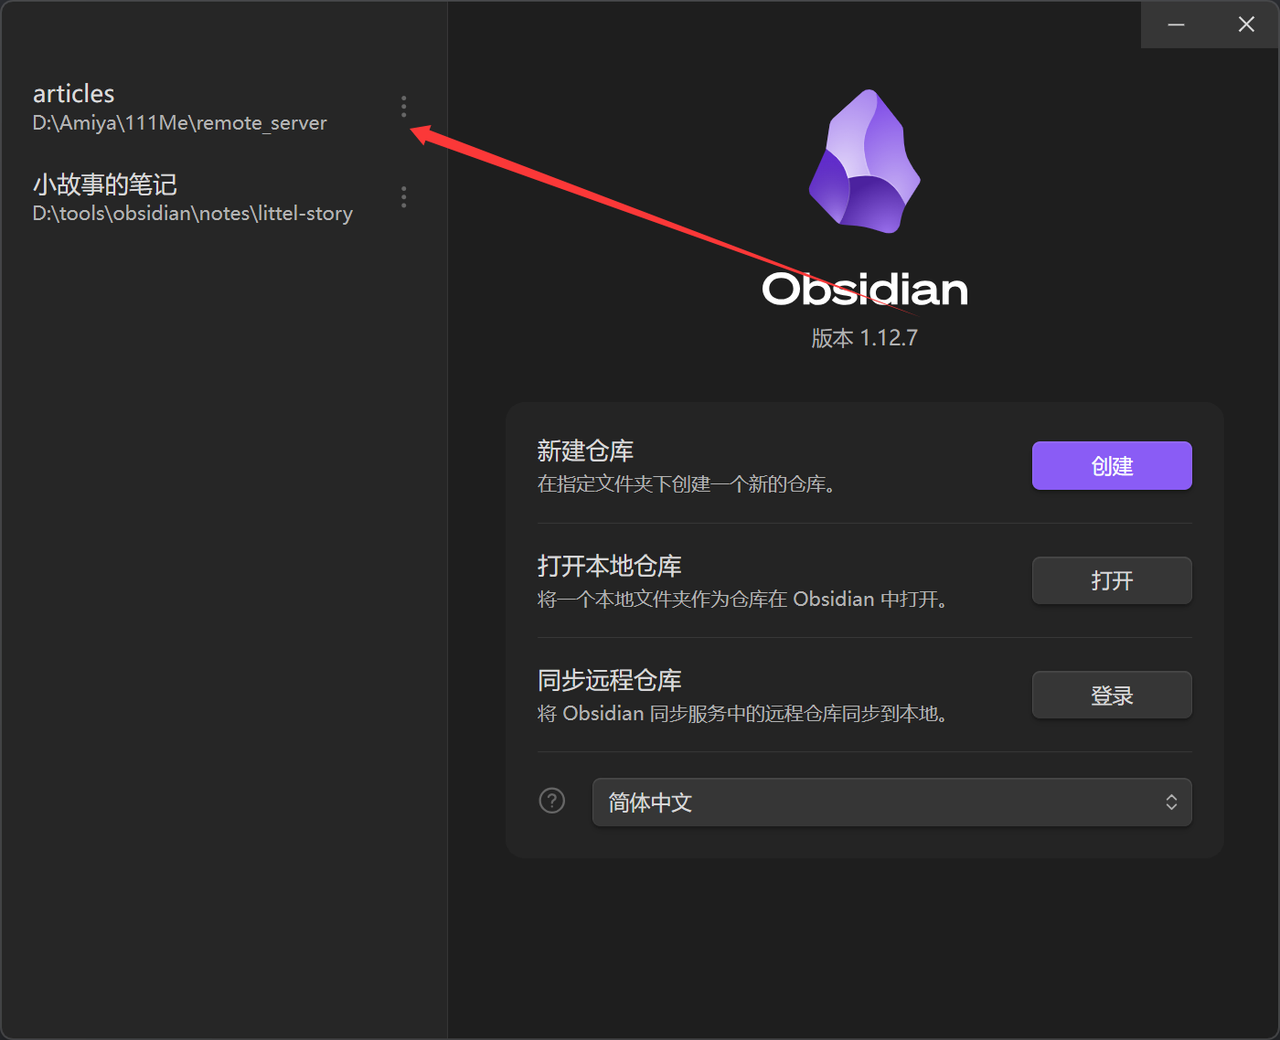
This directory will be your blog’s backend from now on.
Remember these common locations first:
articles/posts/ 文章articles/friends/ 友链卡片articles/spec/about.md 关于页articles/spec/friends.md 友链页正文和申请说明articles/site/profile.json 头像、昵称、简介、社交链接articles/site/navigation.json 导航栏articles/site/banner.json 首页 Banner 和文案articles/assets/ 头像、Banner、音乐、友链头像等素材If you find these JSON files hard to modify, you can directly search for ‘site-config-hub’ in Obsidian.
Here, the About page, Friends page, site JSON, and asset directory are all centrally located, making them easier to modify.
Local Plugin Startup
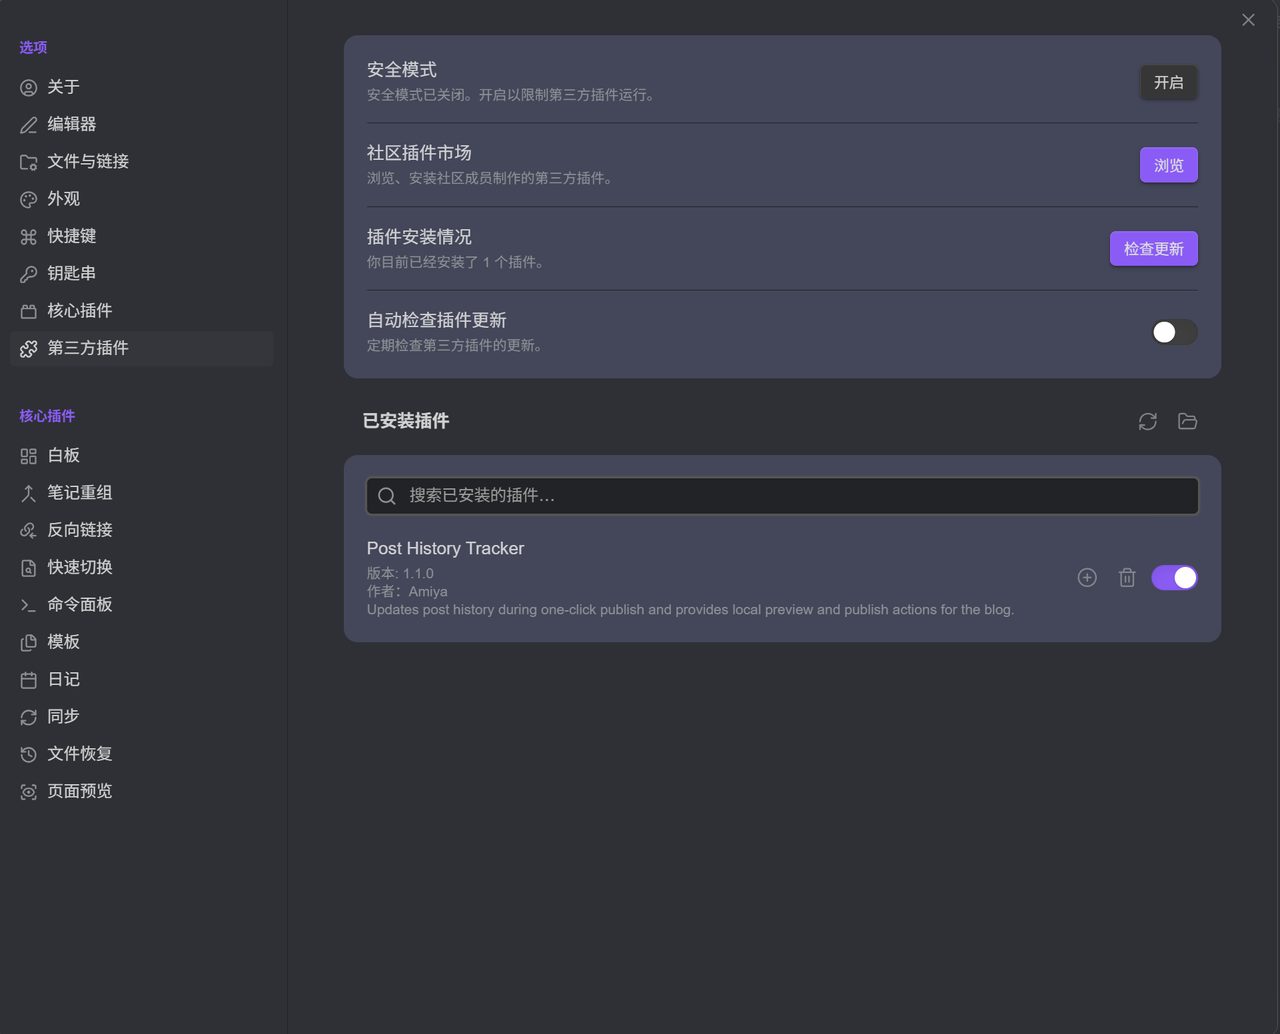
After installation, open the third-party plugins page in Obsidian settings and enable the plugins included with the template.
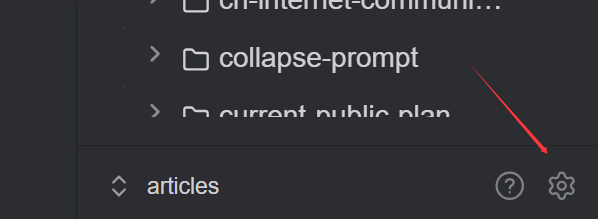
Enable third-party plugins, check the one that exists by default.
Then two new items will appear in the left sidebar.
本地预览博客 button and 一键推送按钮

本地预览博客 automatically does these things under the hood:
同步 articles -> blog 内容如果 blog 依赖还没装好,自动安装依赖本地 build 博客启动本地预览服务So, the first time you click the local preview button, if blog/node_modules doesn’t exist yet, it will first complete the dependencies in the background, which will take a bit longer; subsequent clicks will be much faster.
It looks like a button, but behind it, it’s still calling local tools like Node, pnpm, and Git. The difference is that during normal use, you don’t have to go into the command line yourself to handle installation, syncing, building, and pushing.
After successful startup, it will automatically redirect you to the local preview address and switch to an active state.
Blog: http://127.0.0.1:4173/This button is a toggle:
第一次点:启动预览并自动打开浏览器第二次点:停止预览服务The other one is automatic commit and upload after clicking.
Write Your First Article
Create a new folder under ‘post’ to put everything an article needs, then create a new article and insert the template.
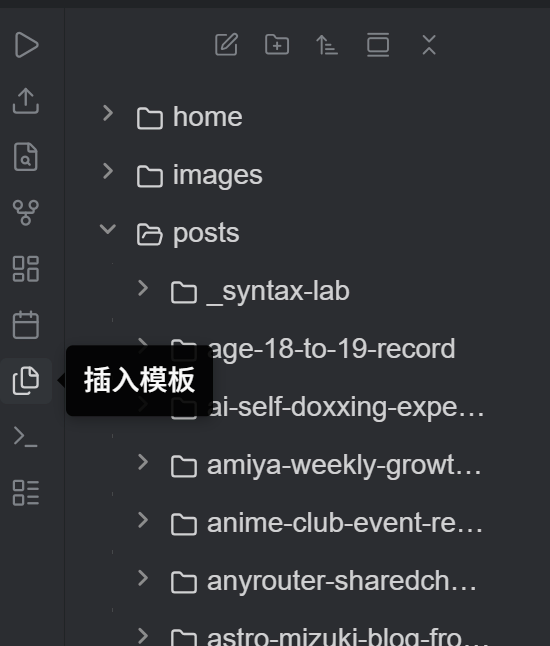
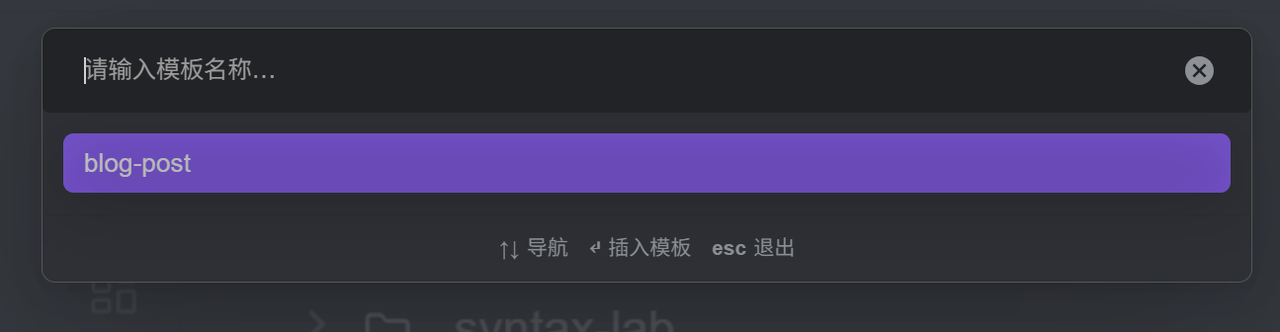
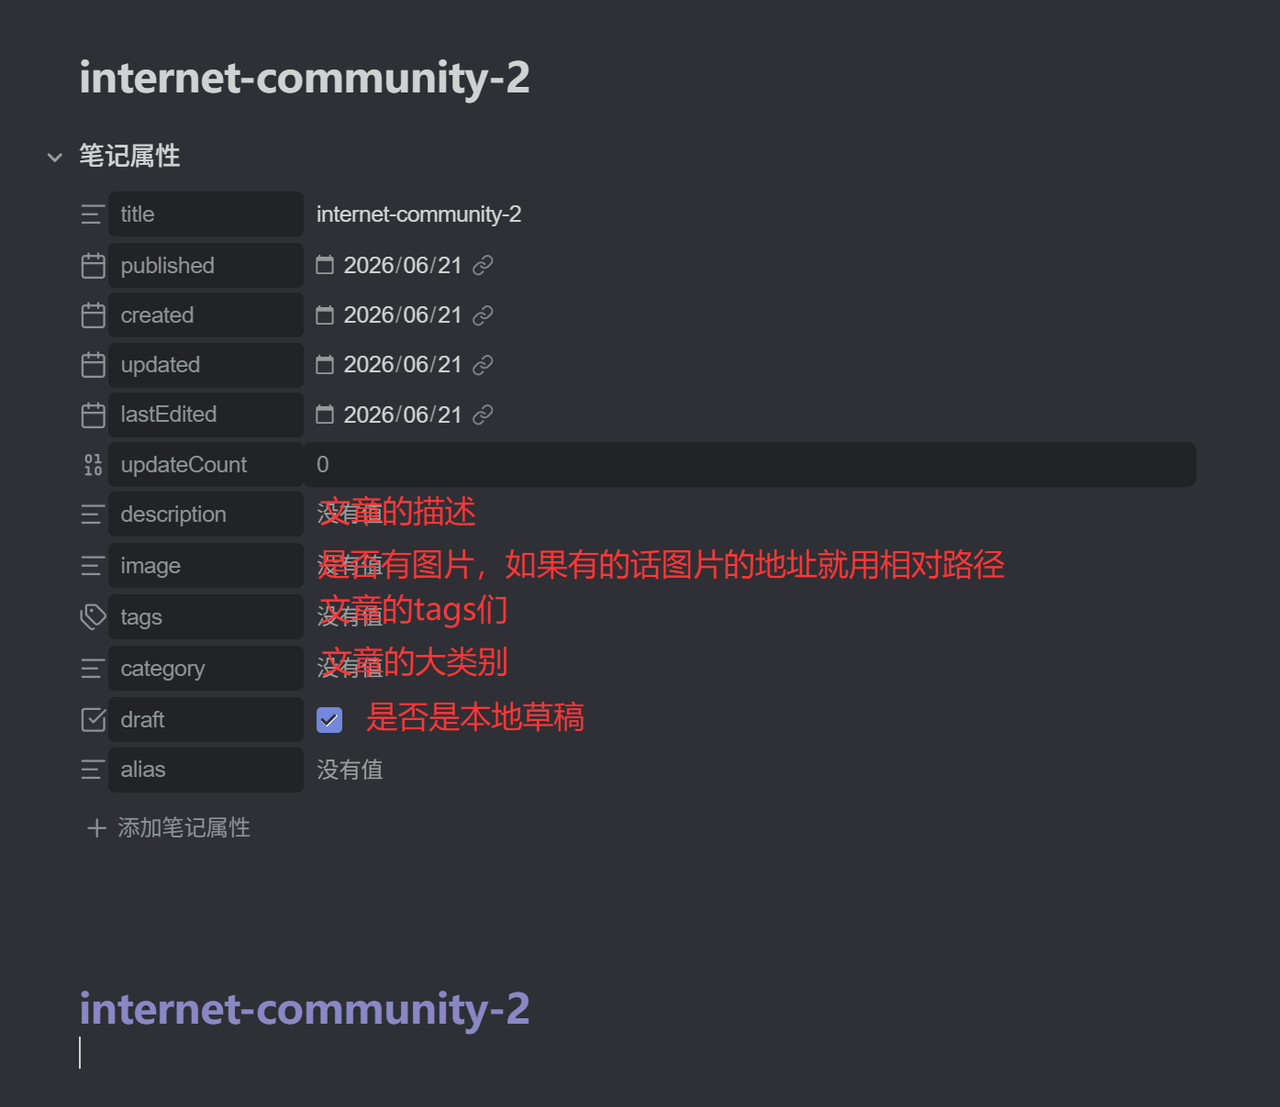
Then you can happily start writing! Common Markdown and some Obsidian syntax are all supported for parsing!
In the default template, draft: true is a draft. If you’re ready to publish, change it to draft: false; if this is just a short note and you don’t want it to appear as a standalone article, you can put it as a single Markdown file into articles/essays/.
If you want to place two or more photos side-by-side, you don’t need to write HTML by hand; you can write it like this:
:::photo-grid![[left.png|左边照片说明]]![[right.png|右边照片说明]]:::The description below the image will take the text after |. Regular Markdown images also support the same layout:
They will appear side-by-side on a computer and automatically stack into a single column on a phone.
There’s also a black block hint, suitable for answers, spoilers, or content you don’t want to see at first glance:
这里有一个 {{被遮住的内容|鼠标移上去会看到提示}}。After publishing to the blog, hovering over it with the mouse or selecting it with the keyboard will reveal the main text and hint; tapping on a phone will also expand it.
Sync and Build
Just click the button in the image, assuming you’ve already configured GitHub secrets. This template comes with actions built-in.
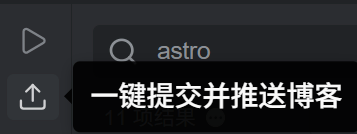
This button will commit and push your articles, configurations, and synced blog content to GitHub. After a successful push, it’s not your local machine directly deploying, but GitHub Actions that then builds the blog and publishes it to Cloudflare Pages.
And how to configure it is right below!
Create a Cloudflare API Token
Open Cloudflare’s API Token page:
https://dash.cloudflare.com/profile/api-tokens
Create a Token; these permissions are sufficient.
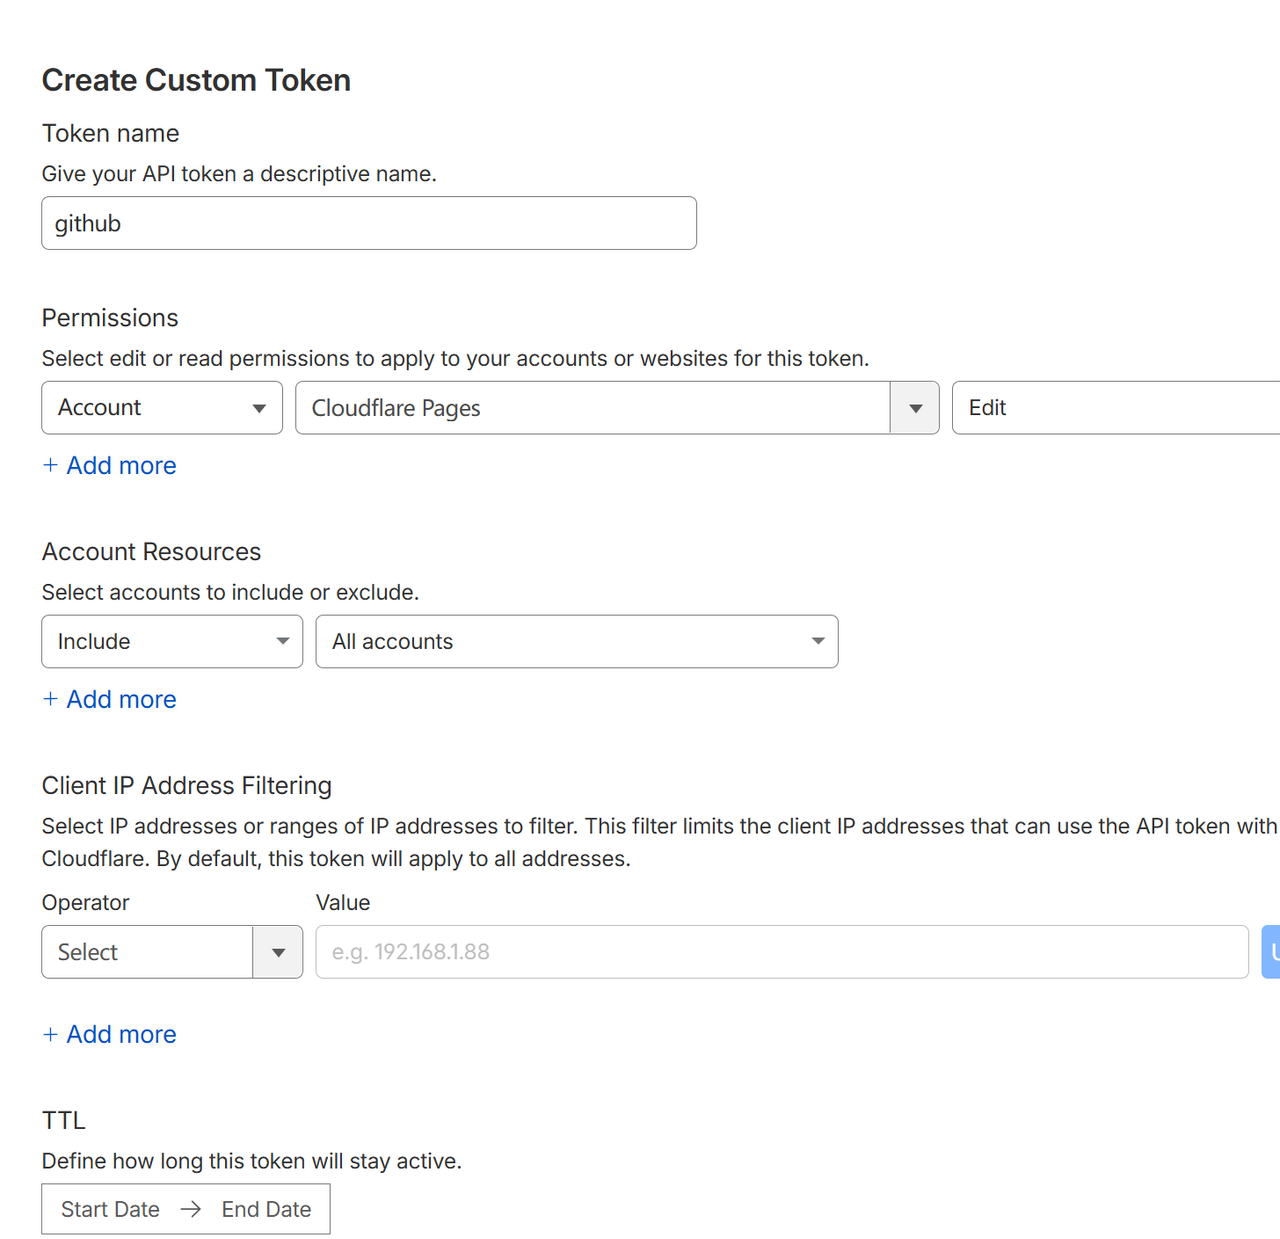
You need to save three things:
CLOUDFLARE_ACCOUNT_IDCLOUDFLARE_API_TOKENCLOUDFLARE_PROJECT_NAMECLOUDFLARE_ACCOUNT_ID can be seen in the bottom right corner of Workers & Pages, it’s in the image above (lol).
CLOUDFLARE_API_TOKEN will only be fully displayed once. Copy it and quickly fill it into GitHub Secrets.
CLOUDFLARE_PROJECT_NAME is the name the Action will use to automatically create the Pages project.
Configure GitHub Secrets
Go back to your GitHub repository page.
Go to:
Settings -> Secrets and variables -> Actions -> New repository secret
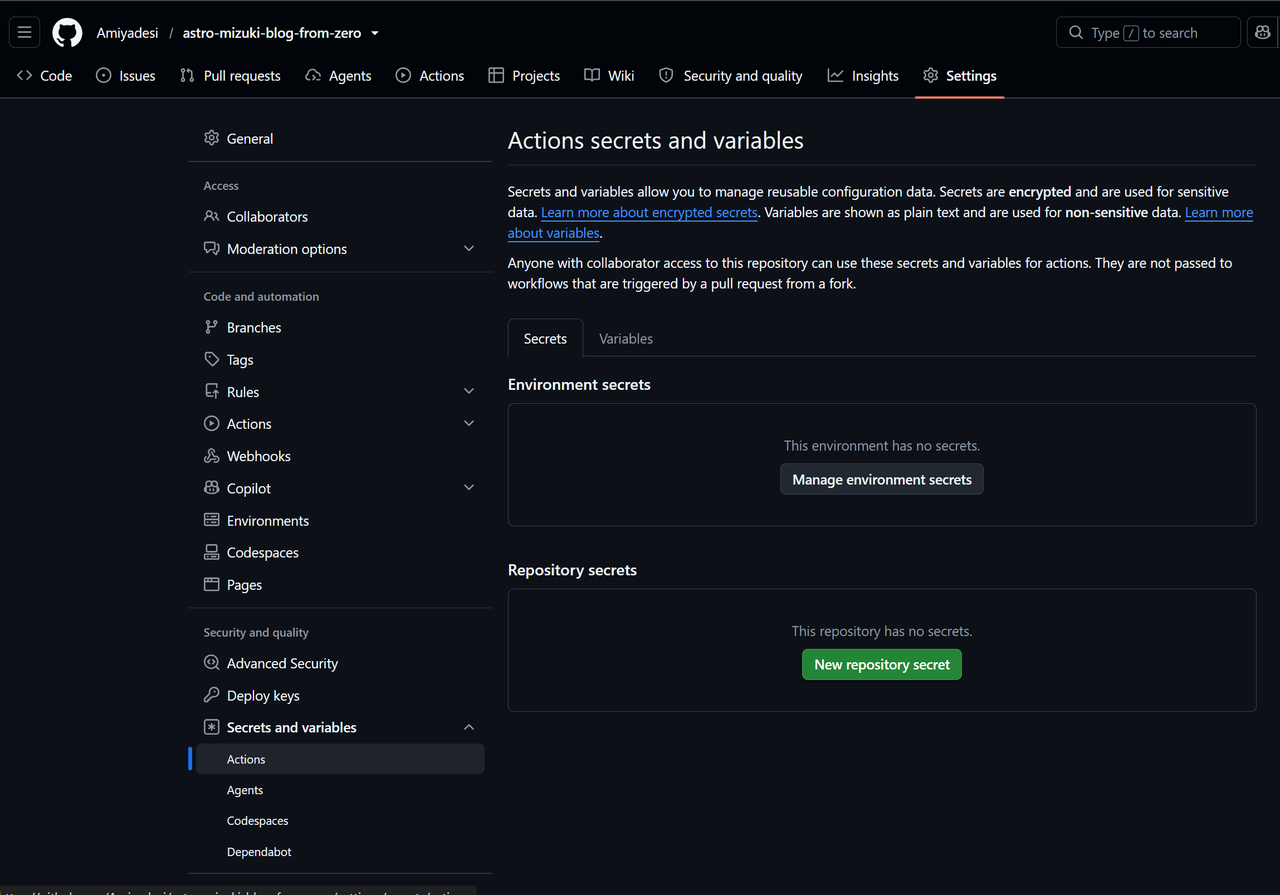
Add these three:
CLOUDFLARE_ACCOUNT_IDCLOUDFLARE_API_TOKENCLOUDFLARE_PROJECT_NAMENames and values correspond.
Confirm GitHub Actions Workflow
This file is already in the template:
.github/workflows/deploy-cloudflare-pages.ymlWhat it does is roughly:
拉取仓库安装 Node 和 pnpm进入 blog/安装依赖构建 Astro/Mizuki用 Wrangler 把 dist 上传到 Cloudflare PagesOf course, it’s best to start a local preview and check before committing.
Commit and Publish
After pushing, open your GitHub repository’s Actions page.
If you see a green checkmark, it means deployment was successful.
If it fails, click in to see the logs. There are only a few common issues:
Secrets 名字拼错Cloudflare Token 权限不够PROJECT_NAME 填错blog/ 构建失败pnpm-lock.yaml 和依赖不一致Open pages.dev
After successful deployment, open:
https://你的项目名.pages.devIf you can see the page, it means the first part is done.
By this point, you have a blog that you can write on, preview, and automatically deploy.
Let’s Stop Here for This Part
The next part will cover domains, comment systems, and other small internet-related things, services, and communities relevant to site owners!
Some information may be outdated